If you use Mac OS X, you don’t need to install a third-party client like PuTTY to connect to your hosting account via Secure Shell (SSH).
Instead you can use Terminal - a command line emulation program.
Before you start, make sure SSH access is enabled for your hosting account.
1) Open your Terminal application

You will see a window with a user$ sign and a blinking cursor. This is your basic command prompt.
From in here, you can establish SSH connection to your hosting server 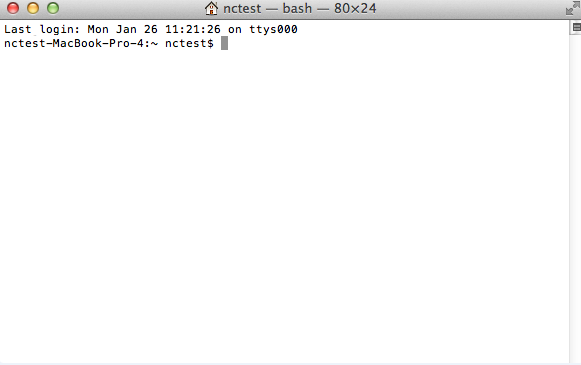
To connect you need to execute the following command
ssh USER@SERVER -pPORT
- USER - user you want to establish the SSH connection for - root or cPanel username
- SERVER - hostname / IP of the server you are connecting to
- PORT - connection port - 21098 for shared server, 22 - for VPS / Dedicated server 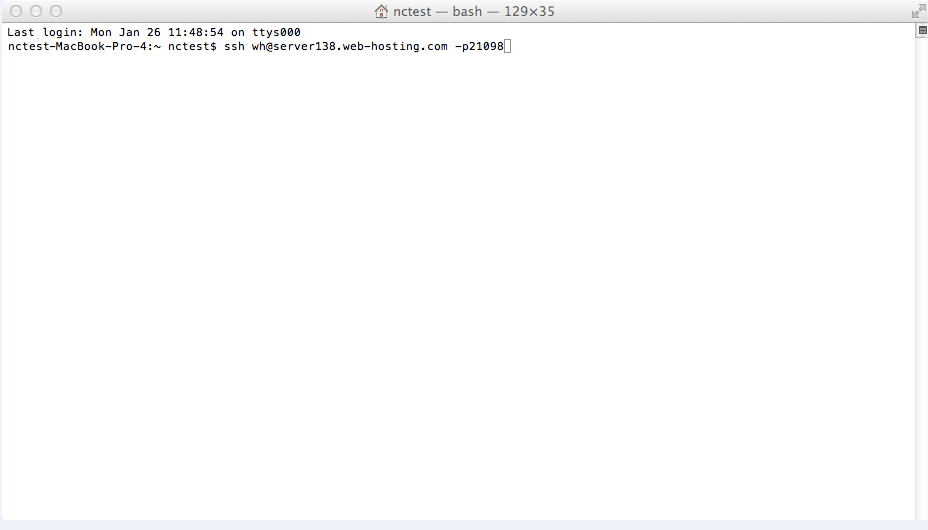
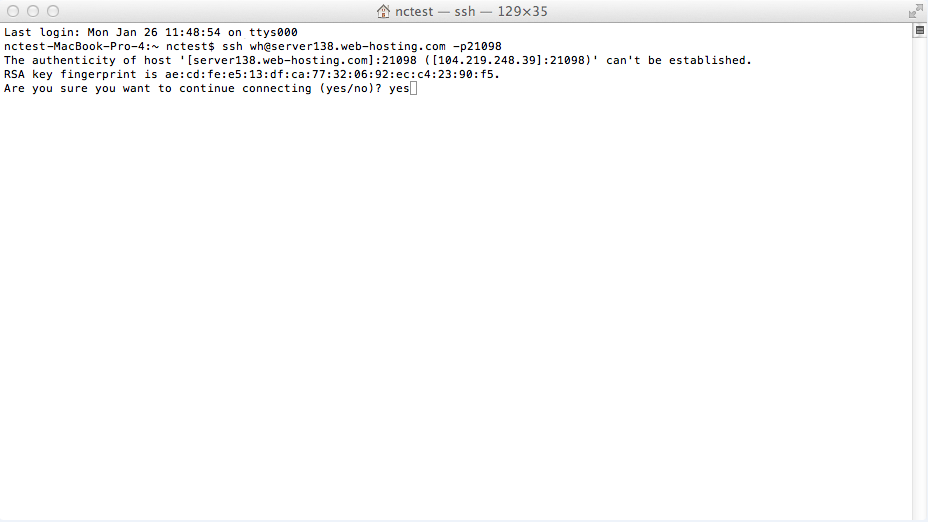
2) Now the computer will attempt to connect to your hosting server.
If it is your first time connecting to the server, you will see a message asking you to confirm connection establishment.
Type “yes” and press “Enter” key to proceed
3) You will be asked to input SSH user password. Type it in and press Enter
NOTE: cursor will not be moving when you will be entering your password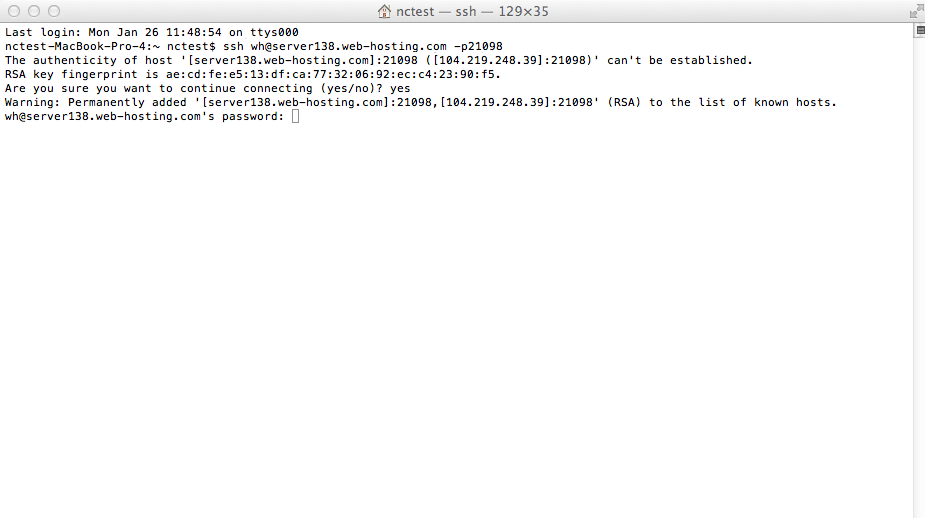
4) If all is good you will see a line beginning with [user@server ~]$ , this will indicate that the SSH connection has been
nsuccessfully established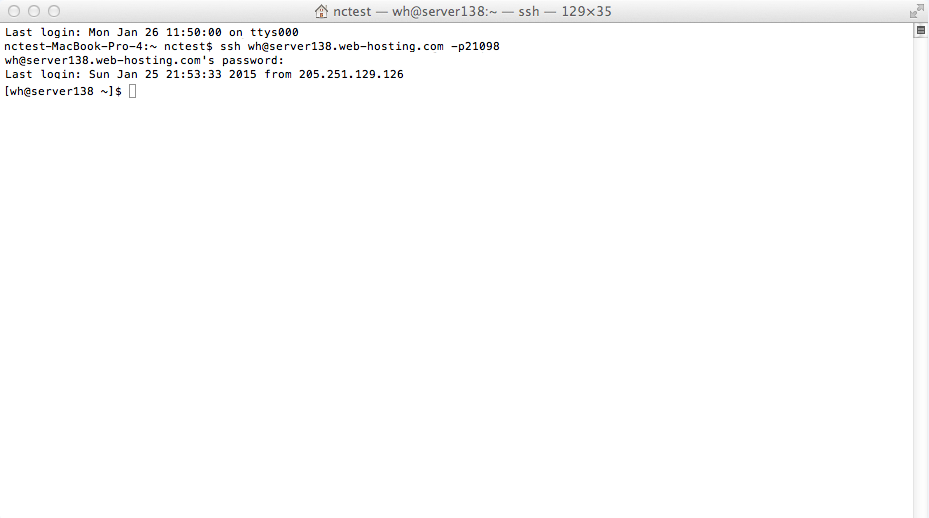
![]()
![]()
![]()


